
How to Cure Cannabis Flower for Maximum Quality
Written by Trevor

TL;DR:
- Proper curing enhances aroma, smoothness, potency, and shelf life of cannabis flowers.
- Slow, controlled curing involves specific conditions and patience to achieve optimal results.
- Using glass jars and monitoring humidity are key factors for successful cannabis curing.
Growing cannabis is only half the battle. Even a beautifully cultivated plant can end up harsh, grassy, or flat if you skip one critical step: curing. Most enthusiasts focus on genetics, nutrients, and grow lights, but the cure is what separates mediocre flower from top-shelf buds. It controls aroma, smoothness, potency, and shelf life in ways that no amount of fancy growing equipment can replicate. This guide breaks down the science behind curing, walks you through the tools and setup you need, and gives you a clear step-by-step process to get the best results from every harvest.
Table of Contents
- Why curing matters: Science behind the process
- Getting started: Tools, environment, and preparation
- Step-by-step guide: How to cure cannabis flower
- Troubleshooting and common mistakes
- How to tell the cure is complete and store the flower
- A real-world perspective: Why curing is still misunderstood
- Your next steps: More resources and premium flower
- Frequently asked questions
Key Takeaways
| Point | Details |
|---|---|
| Curing boosts quality | Curing transforms cannabis flower to improve its flavor, aroma, and potency. |
| The right tools matter | Glass jars, proper humidity, and environmental control are key to successful curing. |
| Patience yields results | A slow, low-temperature cure preserves terpenes and provides the smoothest smoke. |
| Watch for common pitfalls | Avoid high temperatures or humidity swings to prevent mold, overdrying, or loss of potency. |
Why curing matters: Science behind the process
Curing is not just about drying out your flower. It is a controlled, biological process that actively transforms the chemical makeup of your buds after harvest. Understanding what happens inside those jars helps you appreciate why patience pays off.
During curing, cannabinoids go through a process called decarboxylation, where compounds like THCA begin converting into active THC. At the same time, enzymes break down chlorophyll, which is the green pigment responsible for that harsh, grassy taste in freshly dried flower. Less chlorophyll means smoother smoke and a cleaner flavor profile. Terpenes, the aromatic compounds that give each strain its unique scent and effects, are also preserved when curing happens slowly and at the right temperature.
Research confirms that curing increases moisture by 3 to 14% while reducing greenness and triggering decarboxylation of cannabinoids, all of which contribute to a higher-quality final product. That moisture redistribution is key. It moves from the inner stem and bud core outward, creating a more even, stable consistency throughout the flower.
Skipping the cure locks in chlorophyll, kills terpene complexity, and leaves you with a harsh, one-dimensional smoke that no amount of fancy packaging can fix.
Proper curing also stabilizes moisture content, which directly affects how long your flower stays fresh and potent. Flower that is too dry crumbles and loses terpenes fast. Flower that is too wet invites mold. The cure finds the sweet spot. If you want to understand how THCa, CBD, and wellness connect to flower quality, the curing process is a big piece of that puzzle.
Key benefits of proper curing:
- Improved taste and smoothness
- Stronger, more stable aroma
- Better potency through decarboxylation
- Longer shelf life without mold risk
- More consistent effects from session to session
After understanding why curing is a game-changer for cannabis quality, it is essential to prepare the right tools and environment.
Getting started: Tools, environment, and preparation
You do not need a professional facility to cure cannabis well, but you do need the right setup. Cutting corners here leads to uneven results, and sometimes a ruined batch.
What you will need:
- Wide-mouth glass mason jars (quart or half-gallon size)
- A digital hygrometer to monitor relative humidity
- A thermometer for tracking temperature
- Boveda or Integra Boost humidity packs (62% RH)
- A dark, cool storage space
- Clean scissors and gloves for trimming
Research shows that glass jars outperform mylar bags for curing because they provide better microbial safety and more efficient moisture regulation. That said, mylar bags are a popular option for large batches. You can read more about mylar bags for curing to weigh the tradeoffs for your situation.
| Container | Pros | Cons |
|---|---|---|
| Glass mason jars | Best microbial safety, easy to monitor, reusable | Limited batch size, breakable |
| Mylar bags | Large capacity, light-blocking | Harder to monitor, less breathable |
| Plastic containers | Cheap and widely available | Can affect flavor, static charge attracts trichomes |
The ideal curing environment sits between 60 and 70 degrees Fahrenheit with 55 to 65% relative humidity. Anything warmer accelerates terpene evaporation. Too cool and the enzymatic processes slow down too much. Consistency matters more than perfection, especially for home growers who may not have climate-controlled rooms.
Also check out the full breakdown of the hemp flower cure process for additional guidance on setup.
Pro Tip: Always wash and fully dry your glass jars before use. Any residue or moisture left inside can introduce bacteria or mold to your flower, especially during the early, wetter stages of curing.
Now that you are set up with the right environment and materials, let us walk step-by-step through how to cure your harvest for the best results.
Step-by-step guide: How to cure cannabis flower
Following a structured process removes the guesswork and gives you consistent, repeatable results every time.
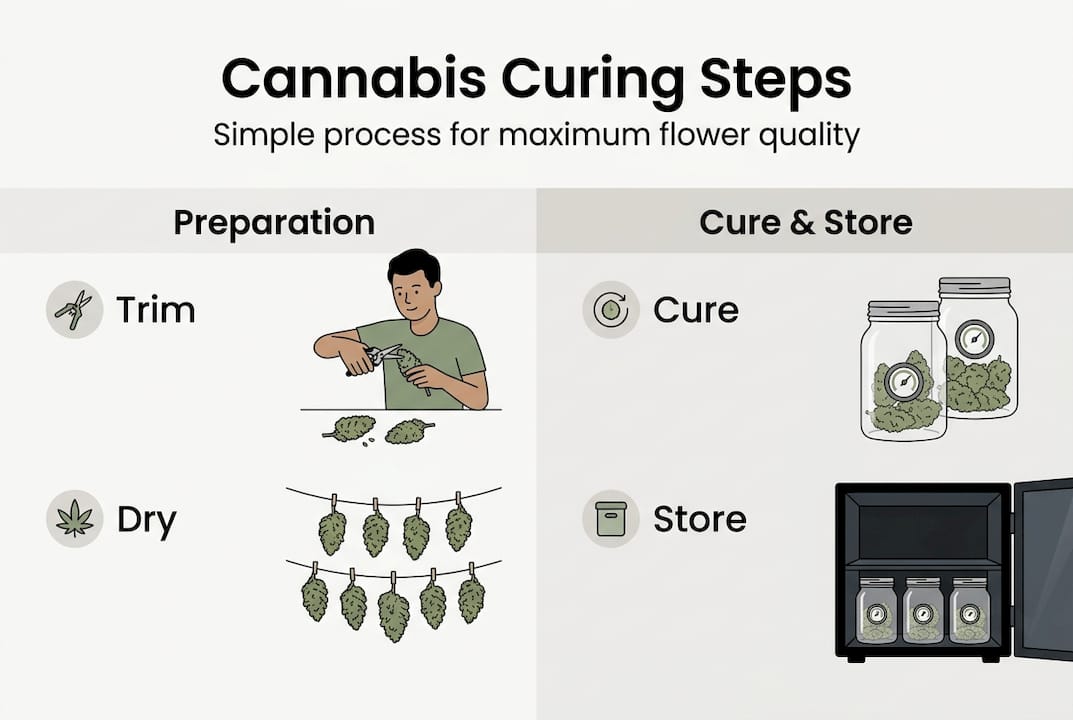
- Harvest at peak ripeness. Look for milky or amber trichomes under a loupe or microscope. Harvesting too early means underdeveloped cannabinoids. Too late and THC begins degrading into CBN.
- Trim your buds. Remove large fan leaves and sugar leaves. You can wet trim right after harvest or dry trim after the initial drying phase. Both work, but dry trimming tends to preserve more trichomes.
- Slow dry your flower. Hang branches or place buds on drying racks in a dark room. Slow drying at 60 to 70°F and 55 to 65% RH for 7 to 14 days prevents case hardening and keeps terpenes intact.
- Load your jars. Fill jars about 75% full. Do not pack them tight. Buds need a little space to breathe.
- Burp daily. For the first two weeks, open your jars once or twice a day for 10 to 15 minutes. This releases built-up gases and refreshes oxygen inside.
- Monitor humidity. Keep a hygrometer inside each jar. If readings go above 70%, leave the lid off longer. Below 55%, add a small humidity pack.
- Reduce burping frequency. After two weeks, drop to every few days. By week four, you may only need to check weekly.
| Phase | Duration | Temperature | Humidity |
|---|---|---|---|
| Initial drying | 7 to 14 days | 60 to 70°F | 55 to 65% RH |
| Active curing | Weeks 1 to 2 | 60 to 70°F | 60 to 65% RH |
| Finishing cure | Weeks 3 to 4 | 60 to 68°F | 58 to 62% RH |
| Long-term storage | Ongoing | Below 70°F | 55 to 62% RH |
For more on maintaining flower care for potency and freshness throughout the process, we have a detailed guide worth bookmarking. You can also explore tips on natural curing for hemp if you are working with hemp-derived flower specifically.
Pro Tip: Resist the urge to rush. Low and slow curing preserves terpenes, reduces harshness, and builds the complex aroma that makes top-shelf flower stand out. A two-week cure beats a three-day cure every single time.
Curing is a science as much as an art, and troubleshooting is just as important as following instructions.
Troubleshooting and common mistakes
Even experienced growers run into problems during the cure. Knowing what to watch for saves your batch before damage becomes permanent.
Common curing problems:
- Mold or white fuzz: Usually caused by too much moisture in the jar. Toss affected buds immediately to prevent spread.
- Grassy or hay smell: Chlorophyll has not fully broken down. Extend the cure and ensure humidity stays in range.
- Harsh smoke: Often from overdrying before jarring, or curing at too high a temperature.
- Overdrying: Buds that crumble to dust have lost too many terpenes and will never fully recover.
- Uneven texture: Stems still feel wet while outsides feel dry. More burping time and patience usually fix this.
Alternative drying methods are worth understanding. Traditional slow drying preserves quality over about one week, while hot air drying is faster but risks quality loss, and freeze drying is quick but results in low decarboxylation. For most home growers, slow ambient drying remains the gold standard.
‘Low and slow’ is not just a barbecue philosophy. In cannabis curing, it is the most reliable path to top-shelf results, and every shortcut you take shows up in the final smoke.
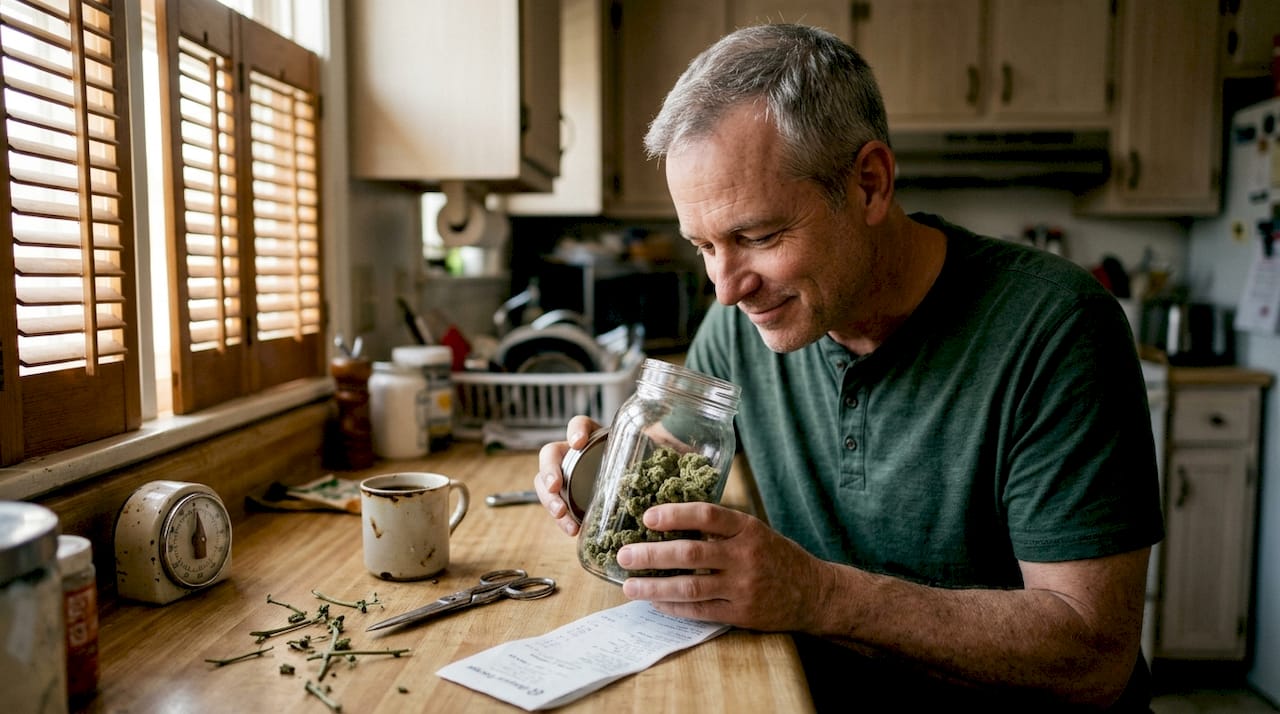
You can tell the cure is working when the grassy smell fades and a richer, strain-specific aroma starts coming through. The buds should feel slightly springy, not crunchy or wet. For long-term quality assurance, reviewing storing cured cannabis best practices will help you protect what you have worked hard to produce.
Once you have mastered the basics and pitfalls, you can focus on verifying quality and protecting your finished product.
How to tell the cure is complete and store the flower
Knowing when to stop curing is just as important as knowing how to start. There are a few reliable ways to check.
The snap test is simple: bend a small stem. If it snaps cleanly, moisture is at a good level. If it bends without breaking, it needs more time. If it snaps and crumbles, it is overdried.
Aroma is your best indicator. Fully cured flower smells rich, complex, and strain-specific. That initial grassy or hay-like smell should be completely gone. The buds should feel slightly sticky from trichomes but not wet or spongy.
Research shows that moisture increases by 3.3 to 13.6% during curing, which signals the flower has reached ideal consistency for both smoking and storage.
How to store properly after curing:
- Use airtight glass jars with humidity packs
- Keep containers in a dark, cool location
- Avoid freezing, which can damage trichomes
- Stay away from plastic bags for long-term storage
- Check humidity monthly and replace packs as needed
For a full breakdown of long-term options, the guide on cannabis storage practices covers everything from container choice to ideal light exposure.
With the full cure-and-store process covered, here is a perspective on what most guides still get wrong.
A real-world perspective: Why curing is still misunderstood
Most growers learn to cure by reading a quick blog post, watching a short video, and then rushing through it because they are excited to try their harvest. That impatience is probably the single biggest quality killer in home growing.
The science is clear. Slow, controlled curing produces better cannabinoid profiles, smoother smoke, and longer shelf life. Yet the home grow environment, with its variable temps, inconsistent humidity, and limited space, makes hitting those ideal parameters genuinely difficult. That gap between what the research says and what most people can actually achieve at home is rarely discussed honestly.
Curing is, without question, the most important and least glamorous step in cannabis production. No one posts photos of their jars sitting in a dark closet for three weeks. But that quiet, boring process is where the real quality is built.
Modern technology like freeze dryers and hot air systems can speed things up, but they consistently fall short on terpene preservation and decarboxylation compared to traditional methods. If you want to go deeper on what a well-executed cure actually looks like, the expert curing process guide is a great next read. Patience and careful observation beat shortcuts every time.
Your next steps: More resources and premium flower
If this guide has you thinking more seriously about flower quality, you are in the right place. At California Blendz, we have built our entire approach around the idea that quality is not an accident. It is the result of careful cultivation, proper post-harvest handling, and full transparency through third-party lab testing.
Whether you want to keep learning or are ready to experience what a properly cured flower actually feels like, California Blendz products and guides are a great place to start. For hands-on guidance, our detailed care tips walk you through everything from harvest to storage. Have questions? Reach out directly. We are here to help you get the most out of every session.
Frequently asked questions
How long should I cure cannabis flower for best results?
Most flower benefits from a 2 to 4 week cure, though some growers extend to 6 to 8 weeks for richer flavor. Slow drying for 7 to 14 days before jarring sets the foundation for a successful cure.
What is the ideal humidity for curing cannabis flower?
Aim for 55 to 65% relative humidity throughout the cure. Drying at 55 to 65% RH preserves terpenes and prevents both mold and overdrying.
Can I use mylar bags instead of glass jars for curing?
Glass jars are preferred for their superior microbial safety and moisture control, but mylar bags can work for large batches as long as you monitor humidity closely and burp regularly.
What are the signs of properly cured cannabis?
Look for a strong, strain-specific aroma, a slightly sticky texture, and a clean snap on small stems. A moisture increase of 3.3 to 13.6% during curing indicates the flower has reached ideal consistency.
Recommended
- Cannabis flower care: expert how-to for potency and freshness – California Blendz
- Top cannabis flower safety tips for healthy use – California Blendz
- How to Identify Good Flower for Quality Cannabis Choices – California Blendz
- Cannabis Flower Basics: THCa & CBD Guide for Wellness – California Blendz


