How to Cure Hemp Naturally for Best Quality Results
Written by Trevor

Finding high-quality CBD and THCa products for personal wellness in California often starts with one crucial step—mastering how to properly cure hemp flowers. The process can feel complex, but timing your harvest at the peak flowering stage ensures the most potent cannabinoid profile and best overall results. This step-by-step guide gives you clear, research-backed methods for harvesting, trimming, drying, curing, and monitoring hemp so you get the most from your natural wellness routine.
Table of Contents
- Step 1: Harvest Hemp at the Right Time
- Step 2: Prepare and Trim Hemp Flowers
- Step 3: Dry Hemp in Controlled Conditions
- Step 4: Cure Hemp in Airtight Containers
- Step 5: Check and Monitor for Optimal Results
Quick Summary
| Key Point | Explanation |
|---|---|
| 1. Harvest at Peak Flowering Stage | Monitor trichome color and pistil development to ensure maximum cannabinoid content and quality during harvest. |
| 2. Choose Correct Trimming Method | Decide between wet and dry trimming based on your preference for preserving trichomes and the condition of the flowers. |
| 3. Control Drying Conditions | Maintain specific temperature and humidity levels for 7-10 days to prevent mold and enhance quality post-harvest. |
| 4. Cure with Airtight Containers | Utilize airtight glass jars to stabilize moisture and enhance flavor and potency during the 2-4 week curing process. |
| 5. Monitor for Quality Assurance | Regularly check moisture, temperature, and aroma to ensure safe storage and enhance the overall quality of your hemp. |
Step 1: Harvest Hemp at the Right Time
Harvesting hemp at the precise moment is critical for maximizing cannabinoid content and overall flower quality. Optimal timing impacts medicinal qualities of your hemp crop, directly influencing cannabinoid concentrations like CBD, THC, and CBG.
Understanding the optimal harvest window requires careful observation of several key factors. Most experienced cultivators recommend harvesting during the peak flowering stage, which typically occurs 7-9 weeks after initial flowering begins. During this period, hemp plants exhibit maximum cannabinoid development and balanced physiological characteristics.
To determine the right harvest moment, monitor these critical indicators:
- Trichome color: Look for milky white to amber-colored trichomes
- Pistil transformation: Watch for 70-90% of pistils darkening and curling
- Overall plant maturity: Assess overall plant structure and cannabinoid development
Premature or delayed harvesting can significantly reduce your hemp’s medicinal and commercial value.
Pro tip: Use a jeweler’s magnifying glass to closely inspect trichome color and ensure you’re capturing hemp at its absolute peak potency.
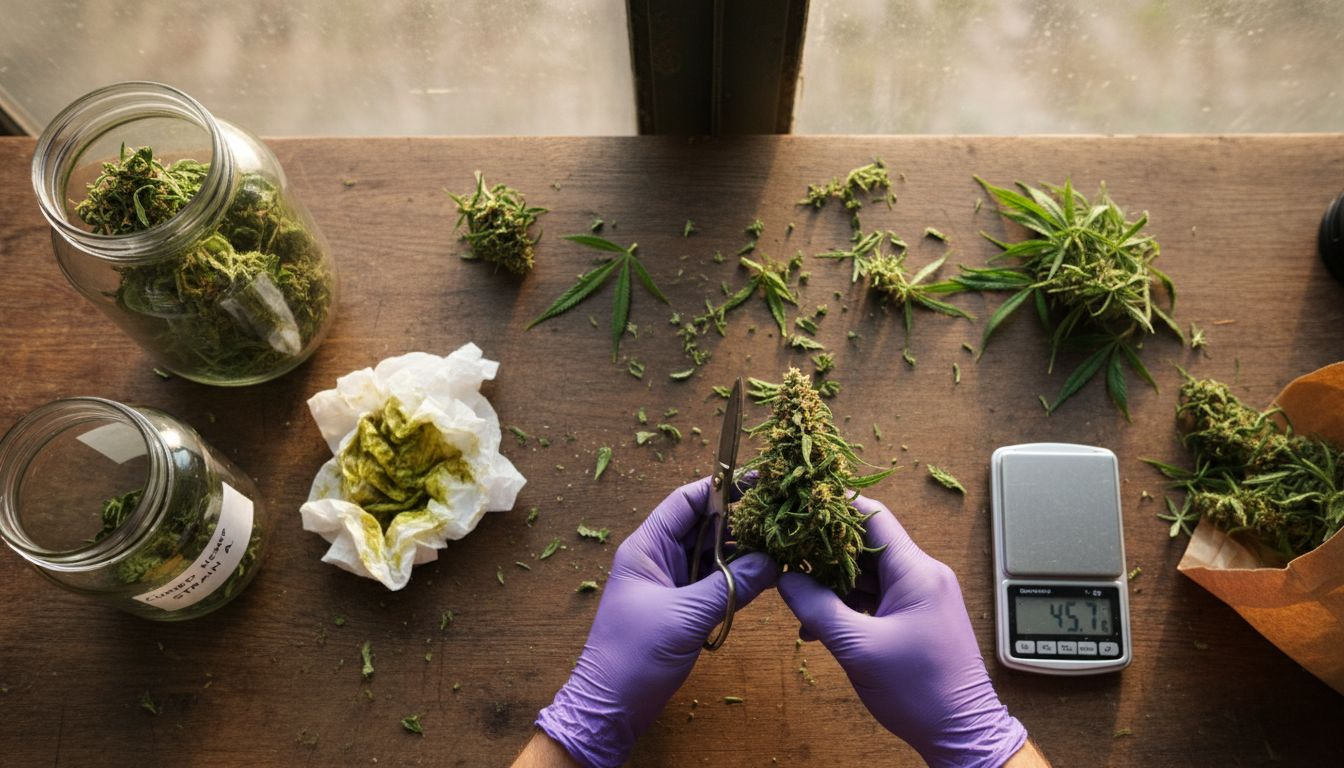
Step 2: Prepare and Trim Hemp Flowers
Trimming hemp flowers is a crucial step in post-harvest processing that directly impacts the quality and potency of your final product. Post-harvest processing involves careful flower preparation to preserve the most valuable parts of the plant while removing unnecessary plant material.
The trimming process can be performed using two primary methods: wet trimming and dry trimming. Wet trimming occurs immediately after harvesting, while dry trimming happens after the flowers have been dried. Most experienced cultivators prefer hand trimming, as it allows for more precise removal of fan leaves and stems while maintaining the delicate trichome structure.
Compare the two main trimming methods for hemp flowers below:
| Method | Timing | Advantages | Considerations |
|---|---|---|---|
| Wet Trimming | Immediately after harvest | Easier leaf removal | May dry faster than desired |
| Dry Trimming | After flowers are dried | Preserves more trichomes | Can be more difficult to trim |
Essential equipment for successful hemp flower trimming includes:
- Sharp, non-stick pruning scissors
- Clean trimming trays
- Good lighting
- Comfortable workspace
- Isopropyl alcohol for cleaning tools
Careful trimming preserves trichome integrity and ensures maximum cannabinoid retention.
- Carefully remove large fan leaves
- Trim away excess stems and small branches
- Manicure the remaining buds to create clean, uniform flowers
Pro tip: Wear clean, disposable gloves during trimming to prevent contamination and protect the delicate trichomes on your hemp flowers.
Step 3: Dry Hemp in Controlled Conditions
Drying hemp flowers is a critical process that directly impacts the final product’s potency, flavor, and overall quality. Postharvest drying requires precise environmental controls to preserve cannabinoid contents and ensure microbial safety.
The ideal drying environment involves maintaining specific temperature and humidity levels. Most experts recommend using a dedicated drying room with controlled airflow and temperature between 60-70 degrees Fahrenheit. Humidity should be carefully maintained at 45-55% to prevent mold growth while allowing proper moisture reduction. The drying process typically takes 7-10 days, depending on your specific environmental conditions and flower density.
Key considerations for successful hemp drying include:
- Use dark, well-ventilated spaces
- Maintain consistent temperature
- Ensure gentle, consistent airflow
- Monitor humidity levels carefully
- Avoid direct sunlight exposure
Proper drying techniques can significantly enhance the final cannabinoid profile and overall flower quality.
- Hang hemp branches in a dark, temperature-controlled room
- Space branches to allow maximum air circulation
- Use fans to promote gentle airflow
- Check moisture levels regularly
Pro tip: Invest in a digital hygrometer to precisely track temperature and humidity during the entire drying process.
Step 4: Cure Hemp in Airtight Containers
Curing hemp is the final transformative process that elevates your dried flowers from good to exceptional. Sealed glass jars optimize cannabinoid preservation by creating a controlled environment that stabilizes moisture and protects delicate compounds.
The curing process requires precision and patience. Airtight glass mason jars are the gold standard for storing your hemp flowers, allowing subtle moisture redistribution while preventing external contamination. Ideal curing conditions maintain a consistent humidity between 55-65%, which helps develop rich flavors, smooth smoke, and robust cannabinoid profiles. Most high-quality cures take approximately 2-4 weeks, with careful monitoring and occasional jar opening to release built-up gases.
Key steps for successful hemp curing include:
- Select clean, wide-mouth glass mason jars
- Fill jars no more than 2/3 full to allow air circulation
- Store in a dark, cool environment
- Maintain consistent temperature around 70 degrees Fahrenheit
- Check humidity levels regularly
Proper curing can dramatically improve the overall quality and experience of your hemp flowers.
- Carefully transfer dried hemp flowers into clean glass jars
- Seal jars tightly
- Store in a dark, temperature-controlled space
- Open jars daily for first week to prevent mold
Pro tip: Use humidity control packets to maintain precise moisture levels and prevent potential mold growth during the curing process.
Step 5: Check and Monitor for Optimal Results
The success of your hemp curing process hinges on meticulous monitoring and precise environmental control. Regular monitoring ensures safe storage parameters by tracking critical factors that impact cannabinoid preservation and overall product quality.
Effective monitoring requires a combination of sensory evaluation and scientific measurement. Critical tracking tools like moisture meters, hygrometers, and digital thermometers will become your most trusted companions during this phase. You’ll want to assess multiple quality indicators including moisture content, color consistency, aroma development, and potential signs of mold or degradation.
Key monitoring parameters include:
Here’s a concise summary of key environmental targets for each post-harvest step:
| Step | Temperature | Humidity | Duration |
|---|---|---|---|
| Drying | 60-70°F | 45-55% | 7-10 days |
| Curing | ~70°F | 55-65% | 2-4 weeks |
| Monitoring | Stable | Consistent | Ongoing |
- Moisture levels (target 6-15%)
- Temperature stability
- Humidity consistency
- Trichome color and integrity
- Overall flower appearance
Consistent, careful monitoring transforms good hemp into exceptional, high-quality product.
- Check moisture levels every 3-4 days
- Inspect for any mold or unusual discoloration
- Evaluate trichome development
- Log environmental conditions
Pro tip: Create a dedicated monitoring spreadsheet to track environmental conditions, helping you reproduce successful curing techniques in future harvests.
Elevate Your Hemp Experience with Expertly Cured Cannabis
Achieving the perfect cure for hemp is essential to unlock its full potential in flavor, potency, and therapeutic effects. If you are dedicated to harvesting and curing hemp naturally for the best quality results, you understand the importance of controlled drying, curing, and attentive monitoring to preserve cannabinoids and terpenes. At California Blendz, we specialize in delivering premium hemp products that embody this dedication to quality and natural processing.

Explore The THCa Prestige Vault – California Blendz for a curated selection of lab-tested hemp flowers that reflect meticulous curing processes. Our organic, sustainably grown products from California’s Emerald Triangle come with transparent lab results so you can shop confidently knowing you receive clean, potent cannabis. Ready to experience hemp at its finest? Visit California Blendz now to discover your perfect flower and take your wellness to the next level.
Frequently Asked Questions
What is the best temperature and humidity for curing hemp?
To achieve the best results, maintain a temperature around 70 degrees Fahrenheit and humidity levels between 55-65%. Set up a controlled environment to optimize cannabinoid retention and enhance flavor during the curing process.
How long should I cure my hemp flowers for optimal quality?
Cure your hemp flowers for approximately 2-4 weeks to achieve exceptional quality and potency. Monitor the jars regularly to ensure consistent moisture and quality development during this time.
What materials do I need for curing hemp naturally?
You will need clean, wide-mouth glass mason jars, a dark, cool storage area, and humidity control packets to maintain proper moisture levels. Use high-quality jars to prevent contamination and ensure an ideal curing environment.
How often should I check on my curing hemp flowers?
Inspect your curing hemp flowers daily, especially during the first week, to prevent mold and ensure the proper environmental conditions are maintained. Opening the jars daily also allows trapped gases to escape, further enhancing the cure quality.
What signs indicate my hemp flowers are properly cured?
Properly cured hemp should have a rich aroma, consistent color, and well-preserved trichomes. Evaluate the feel and smell of the flowers to ensure they are not too dry or overly moist, which can indicate poor curing conditions.
How can I tell if my hemp has gone moldy during the curing process?
Check for unusual discoloration, off-putting odors, or visible mold growth on your hemp flowers. If you notice any of these signs, discard the affected flowers immediately to prevent contamination of the remaining batch.


