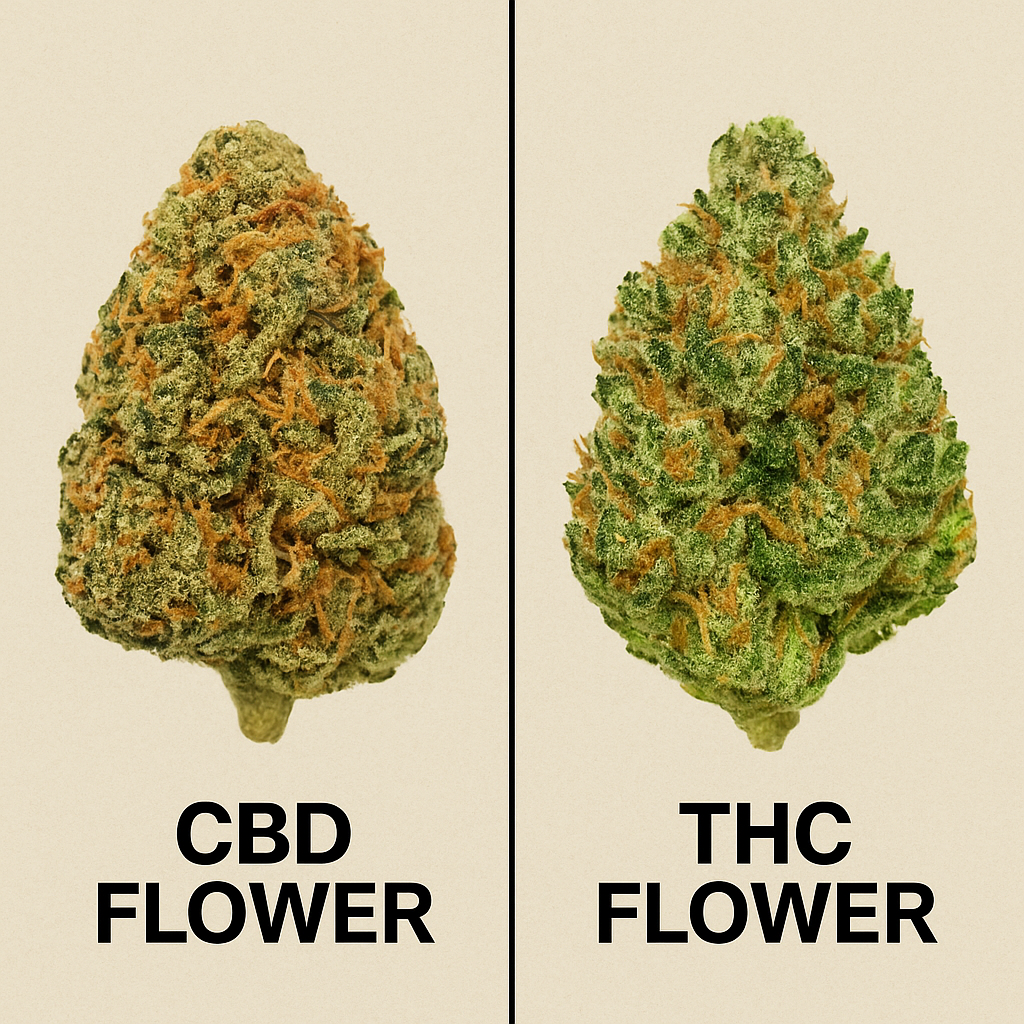
Informational()
-
Understanding Cannabis Product Shipping Laws: What You Need to Know

Understanding Cannabis Product Shipping Laws: What You Need to Know
Read more
THCa Related()
-
Best THCa Flower Online in 2025: A Buyer’s Guide from the Experts at California Blendz
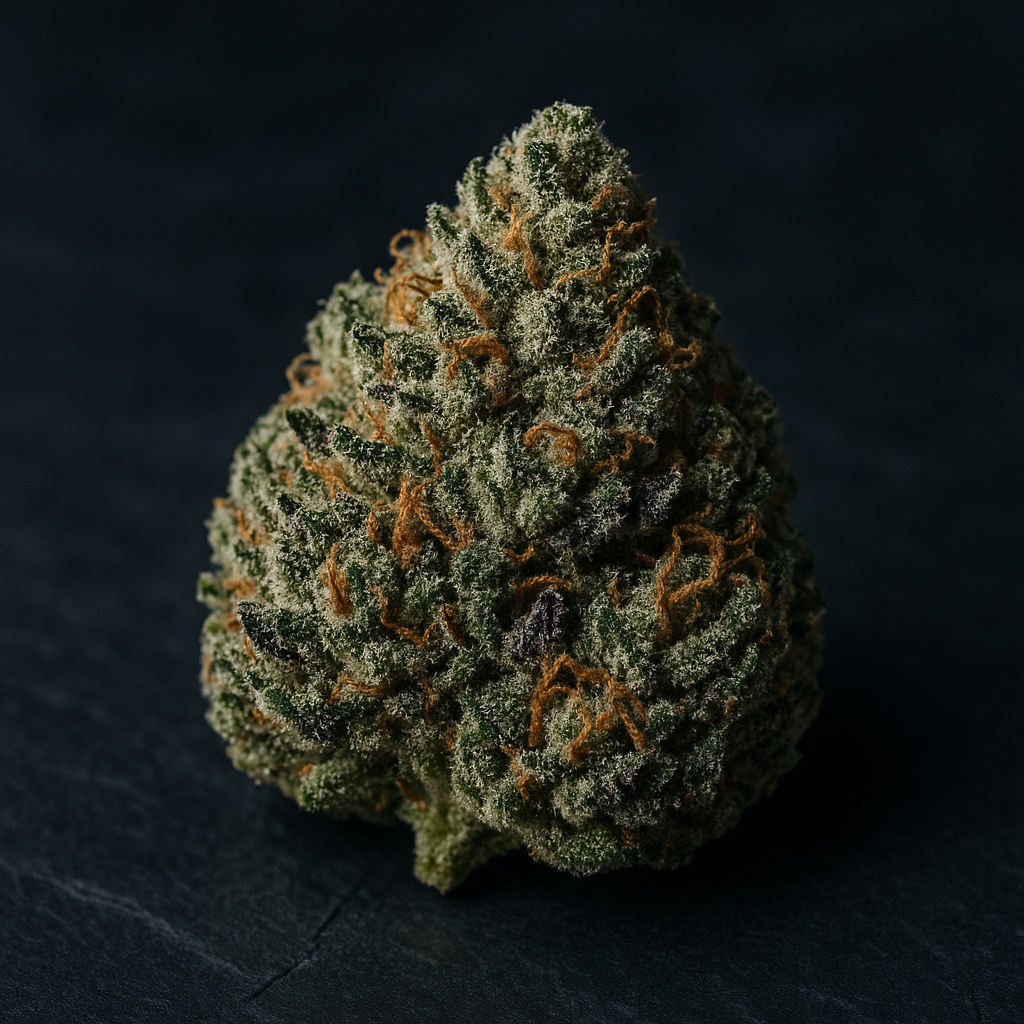
Best THCa Flower Online in 2025: A Buyer’s Guide from the Experts at California Blendz
Read more -
Exotic THCa Flower: What It Really Means & How to Find the Best in 2025
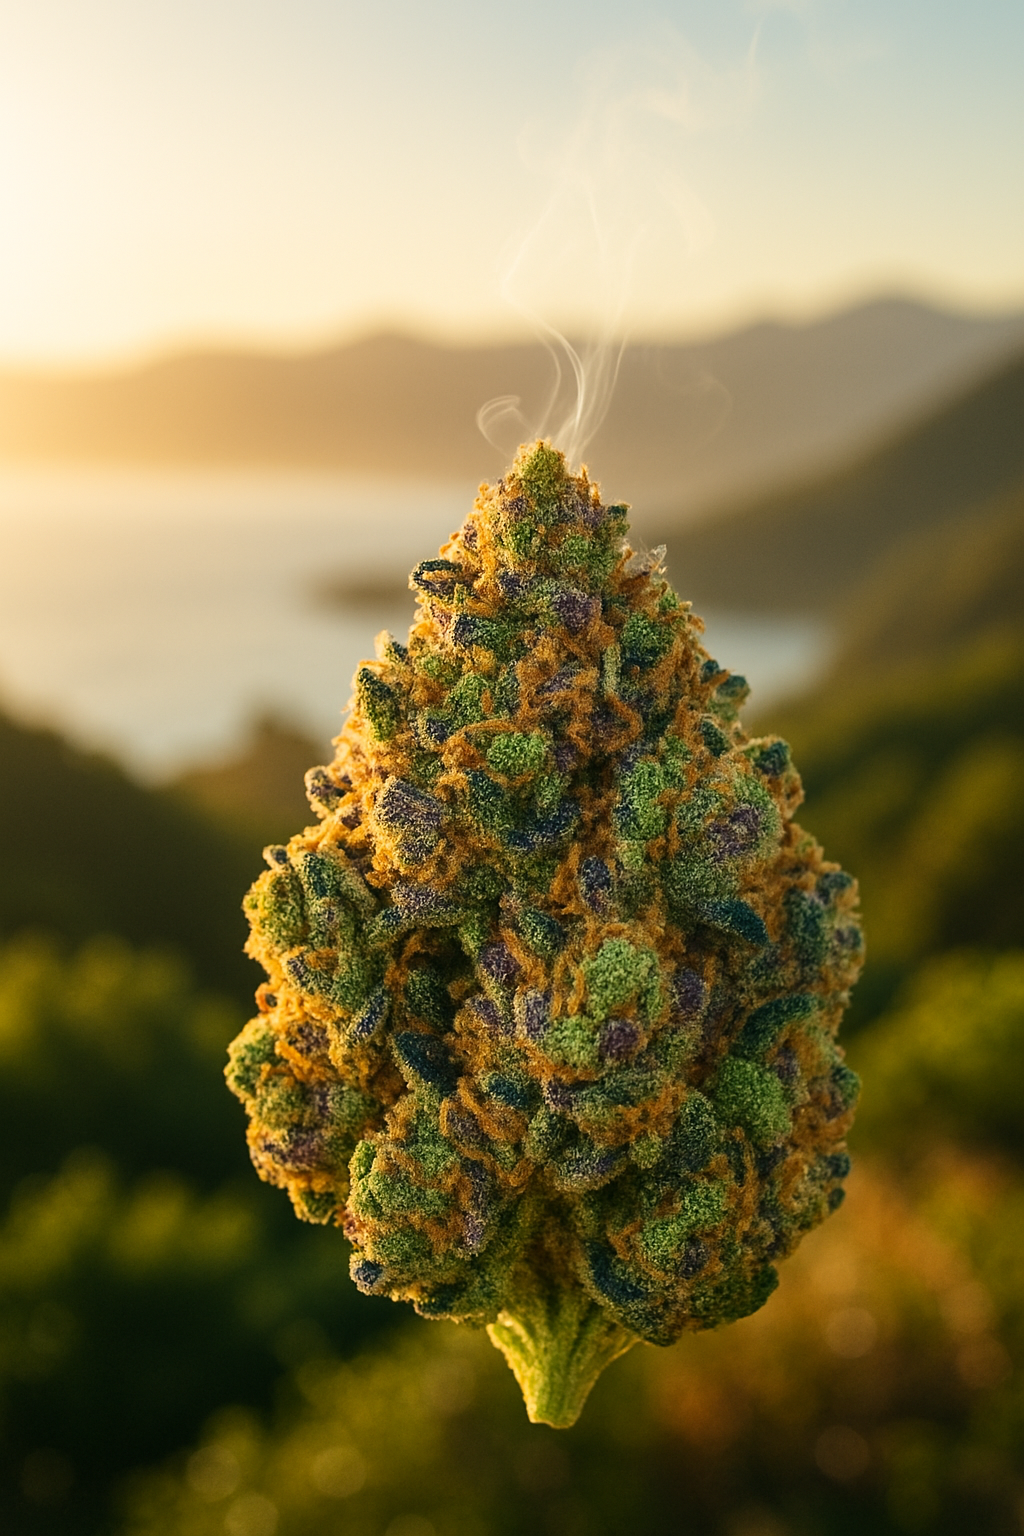
Exotic THCa Flower: What It Really Means & How to Find the Best in 2025
Read more -
Best THCa Flower of 2025: The Expert Guide by California Blendz
Best THCa Flower of 2025: The Expert Guide by California Blendz
Read more -
-
How THCA Flower Is Made (And Why It Matters) — The California Blendz Expert Guide

How THCA Flower Is Made (And Why It Matters) — The California Blendz Expert Guide
Read more -
-
HHC vs THC: Understanding the Differences, Benefits, and Legality

HHC vs THC: Understanding the Differences, Benefits, and Legality
Read more -
What Is THCa vs THC? Understanding the Key Differences and Benefits
What Is THCa vs THC? Understanding the Key Differences and Benefits
Read more
CDB Related()
-
-
What CBD Flower Is Best for Sleep? (And How to Choose the Right One for You)

What CBD Flower Is Best for Sleep? (And How to Choose the Right One for You)
Read more -
How Is CBD Flower Grown? A Beginner-Friendly Guide to Cultivating Nature’s Chillest Bud
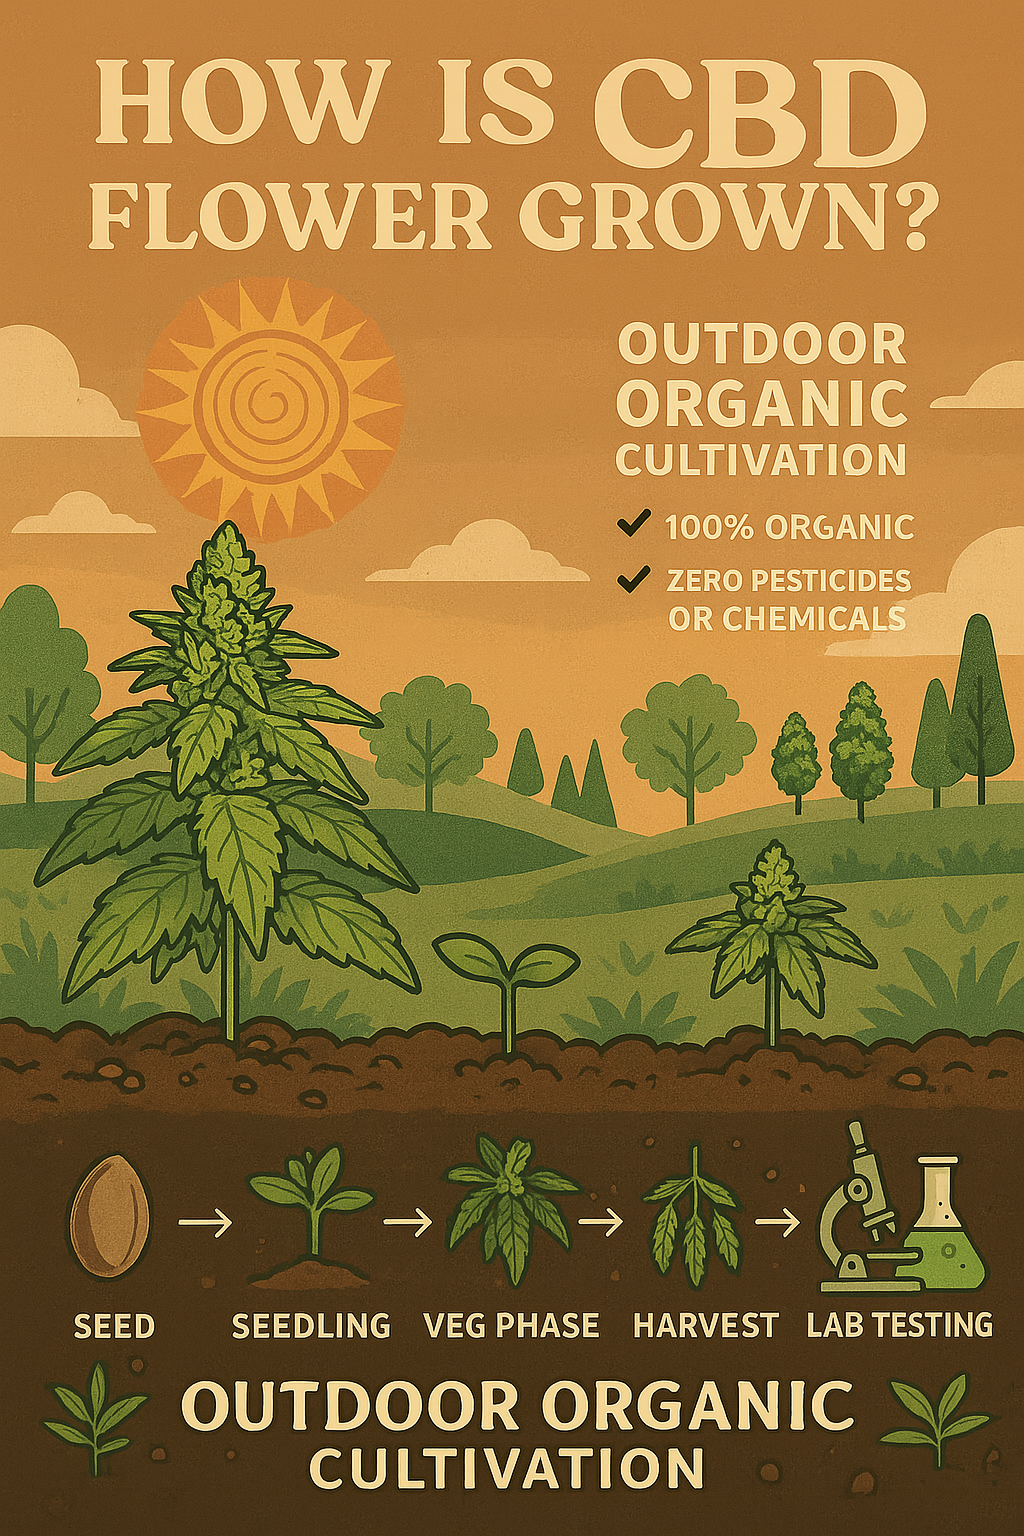
How Is CBD Flower Grown? A Beginner-Friendly Guide to Cultivating Nature’s Chillest Bud
Read more -
-
CBD Flower Explained: The Complete Guide for New Users

CBD Flower Explained: The Complete Guide for New Users
Read more -
-
-
-
-
What Is CBD Flower? Benefits, Effects, And How It Differs From THC
What Is CBD Flower? Benefits, Effects, And How It Differs From THC
Read more -
HHC Related()
-
What is HHC? The New Cannabinoid Taking the Cannabis World by Storm
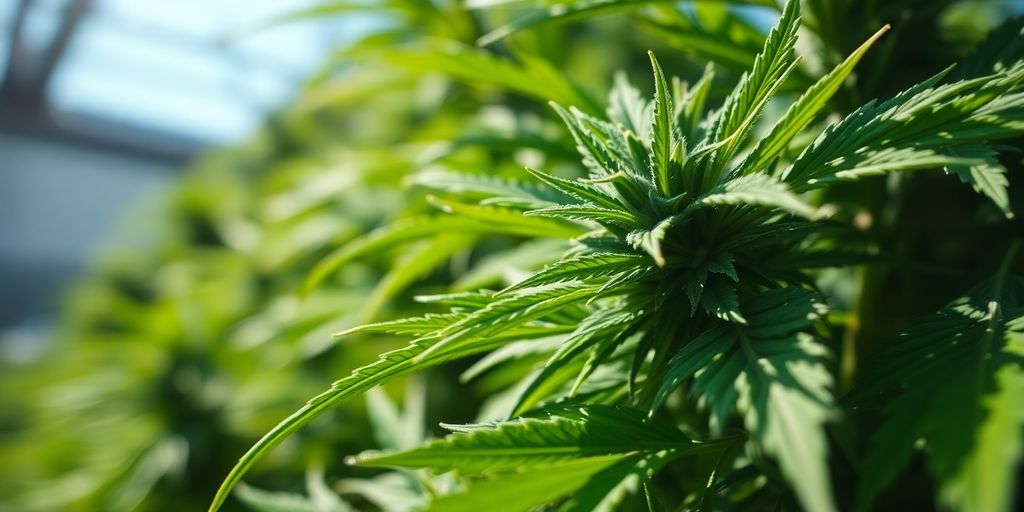
What is HHC? The New Cannabinoid Taking the Cannabis World by Storm
Read more


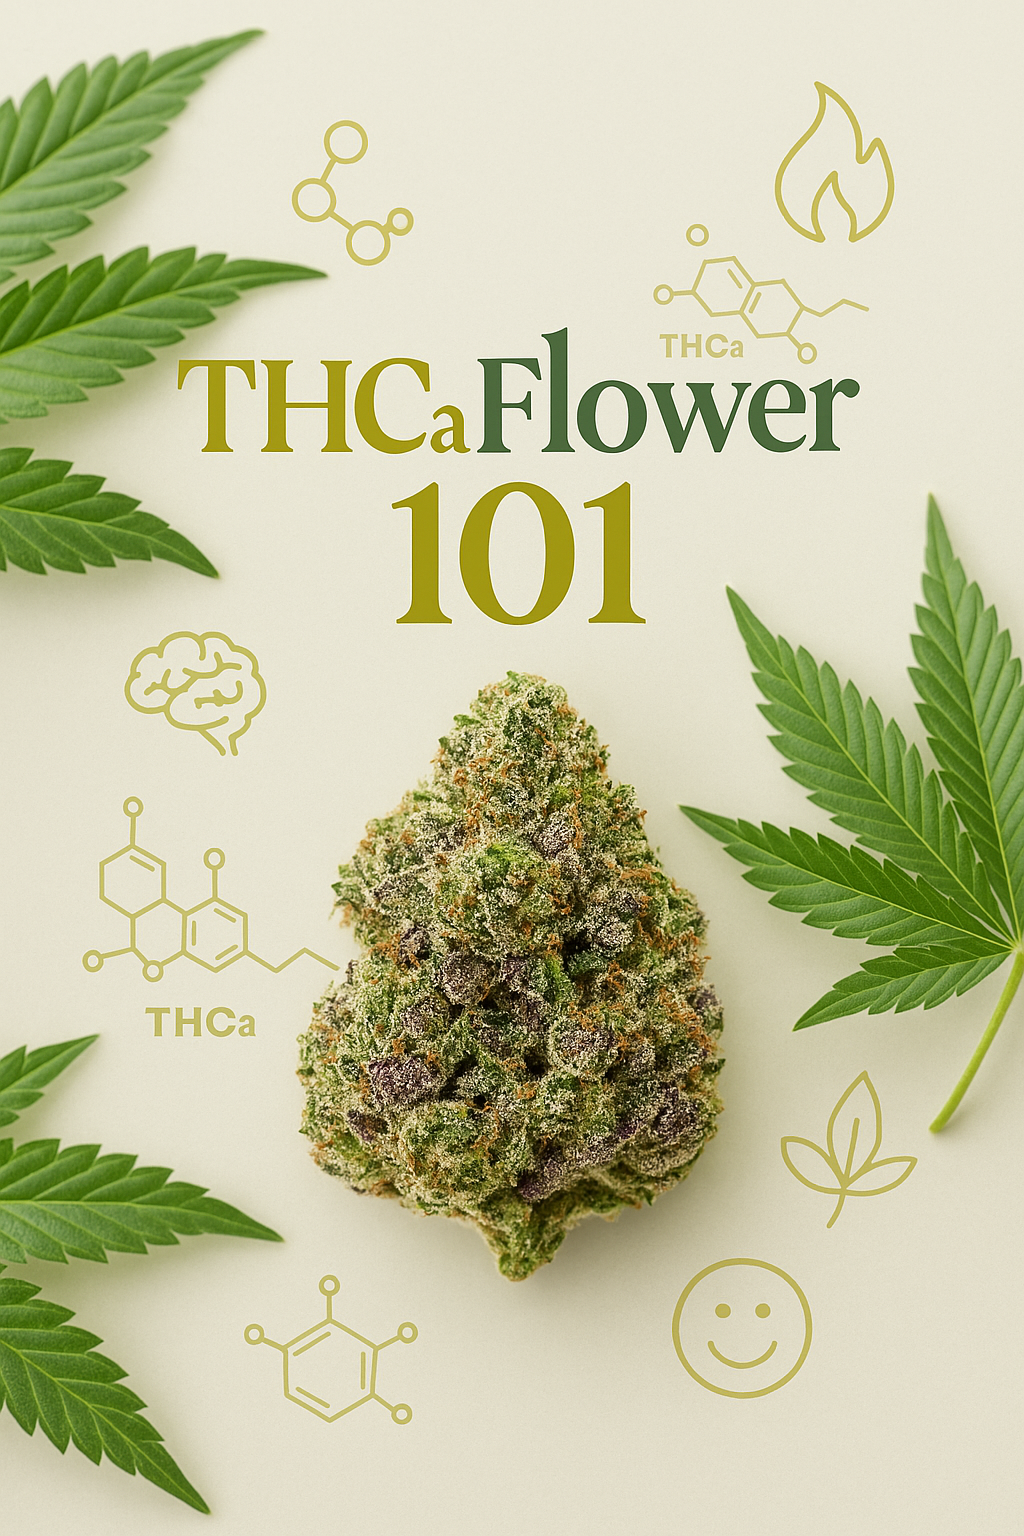
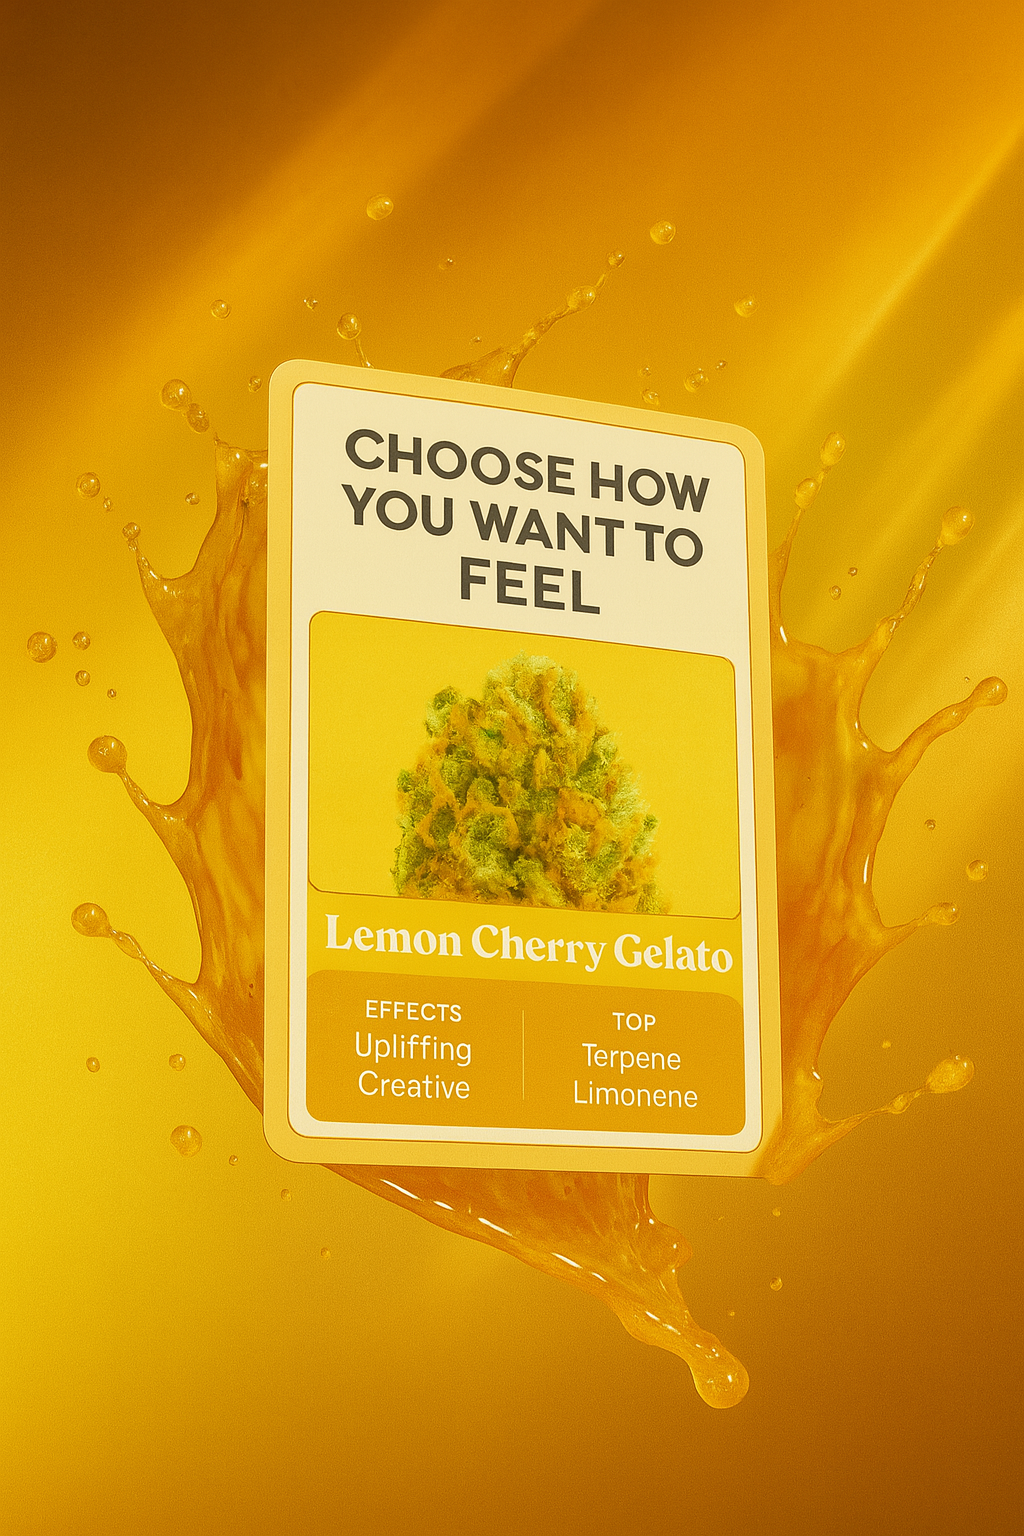

![Should I Smoke THCA Flower? [The Ultimate Guide from California Blendz]](http://californiablendz.com/cdn/shop/articles/Should_I_smoke_THCa_flower_featured_image_e5fea542-ab54-42f8-b8e7-781b8b2bc20c.png?v=1753882026&width=1024)


